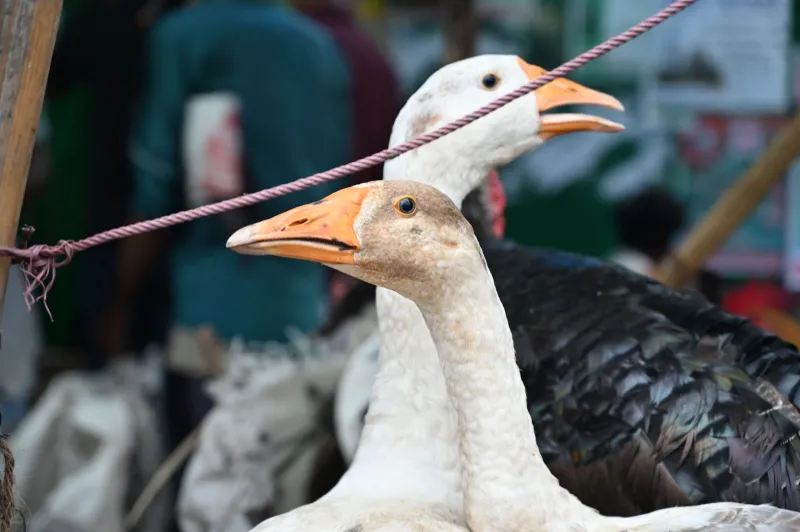
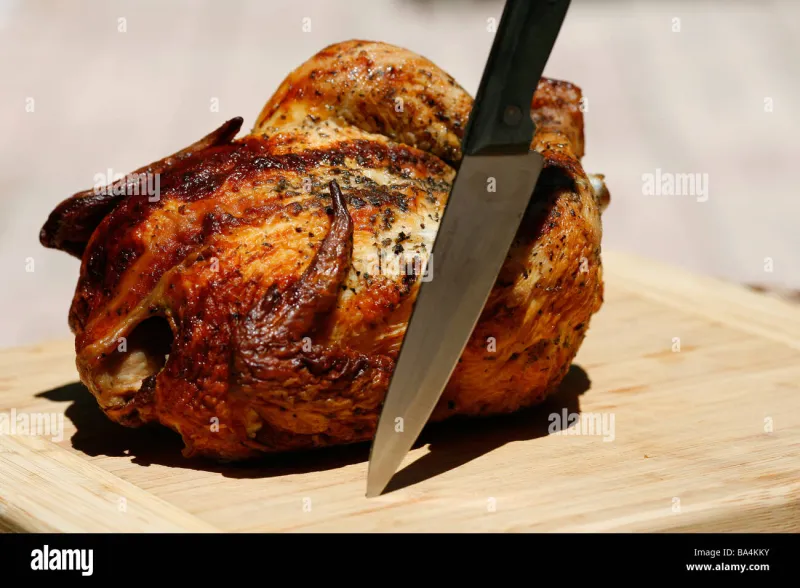
Hands On: Plucking and Preparing a Whole Bird the Old-Fashioned Way
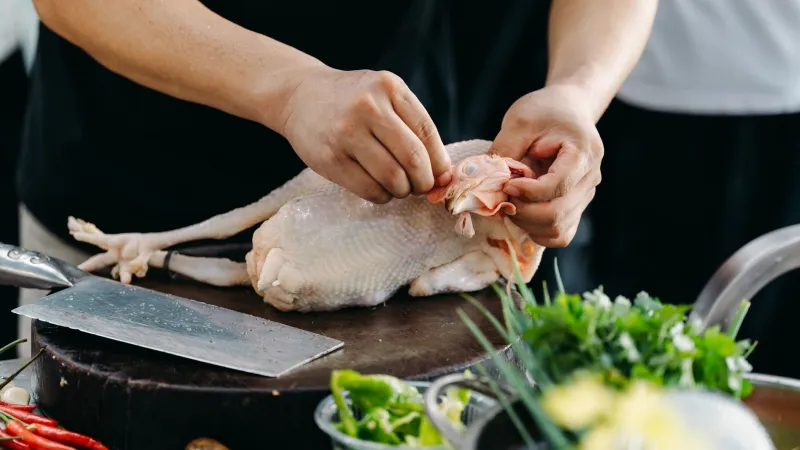
Not so long ago, preparing a whole bird at home was simply part of cooking. Feathers, innards, and all — the kitchen was where the transformation happened, and knowing how to do it properly was a point of quiet pride. That knowledge has largely slipped away over the past few generations, replaced by the convenience of a ready-processed bird in a supermarket bag.
But there's a growing number of home cooks in Britain who want more than convenience. They want to understand their ingredients fully — and for those people, learning to pluck and prepare a whole bird is less a chore and more a genuine reconnection with the craft of cooking. At Pleystowe, we think that's worth encouraging. So here's a proper, practical guide to doing it the traditional British way.
Before You Start: What You'll Need
You don't need a professional setup to do this well, but a few things make the job considerably easier:
- A large bucket or deep sink for wet plucking
- A gas hob or kitchen blowtorch for singeing
- A sharp, flexible boning knife and a sturdy chopping board
- A clean work surface you can scrub down afterwards
- A bowl for offal and giblets
- Plenty of cold running water
If you're sourcing a bird directly from a farm — ideally one you know and trust, like ours — ask whether it's been dry-hung. A bird that's been hung for a few days will pluck more easily and will already have developed some of the deeper flavour that makes traditionally reared poultry worth the effort.
Wet Plucking vs Dry Plucking: Understanding the Difference
There are two traditional approaches to plucking, and both have their place.
Wet plucking involves scalding the bird in hot water — around 60–65°C for chickens, slightly higher for ducks and geese — for roughly 60 to 90 seconds. This loosens the feather follicles and makes plucking significantly faster. The risk is scalding too hot or too long, which can tear the skin. It's the method most commonly used in professional processing because of its speed, and it works well at home too once you've got the temperature right.
Dry plucking requires no water. You simply pull the feathers out by hand, working against the grain of the feather growth. It's slower and more physically demanding, but many traditionalists argue it produces a better skin texture — particularly for birds that will be roasted. Dry plucking is the preferred method for birds that have been hung, and it's how many British game dealers still process pheasant, partridge, and grouse.
For a home cook tackling this for the first time, wet plucking is generally the more forgiving option. Get your water temperature consistent, work quickly, and you'll be surprised how smoothly it goes.
The Plucking Process
Whether wet or dry, the technique is similar. Work in sections — start with the breast, then the back, then the legs and wings. Pull feathers in small bunches, firmly and at a low angle to avoid tearing the skin. The larger flight feathers on the wings will need a firm, decisive pull. Don't rush these — a slow, steady tug is less likely to cause damage than a sharp yank.
Pay particular attention to the pin feathers — the small, immature feathers that sit close to the skin, especially around the wings and back. These can be stubborn. A pair of kitchen tweezers or the back of a knife works well for gripping and removing them cleanly.
Singeing: The Step Most People Skip
Once plucking is complete, there will almost certainly be fine hairs and small residual feather fibres left on the skin. Singeing removes these and is an essential step if you want a clean, professional finish.
Hold the bird over a gas flame, rotating it steadily so the heat passes evenly across the surface. A kitchen blowtorch works equally well. You're not cooking the bird — you're burning off the down and hair in a matter of seconds. The smell is unmistakable, but the result is a clean, smooth skin ready for the next stage.
Drawing (Gutting) the Bird
This is the step that puts some people off, but it's straightforward once you've done it once. Make a careful incision just below the breastbone, large enough to get your hand inside. Reach in and draw out the organs — intestines, gizzard, liver, heart, and lungs — in one careful motion where possible. The key is to avoid puncturing the intestines; work slowly and keep your movements deliberate.
Set aside the liver, heart, and gizzard — these are your giblets, and they're genuinely useful. The liver can be made into a quick parfait or chopped into stuffing. The heart and gizzard, along with the neck, make an excellent stock base. Don't discard them.
Remove the neck by cutting through the skin at the base and twisting firmly. The crop — a small pouch near the neck — should also be removed at this stage.
Rinse the cavity thoroughly under cold running water and pat the bird dry inside and out.
Trussing and Getting It Table-Ready
Traditional British preparation often involves trussing — tying the bird so that the legs and wings sit close to the body during roasting. This produces a neater shape, more even cooking, and a better-looking bird on the table. A simple loop of butcher's twine drawn under the parson's nose and tied around the legs is the most common method, with the wings tucked firmly beneath the bird's back.
At this point, your bird is ready. Season it, rest it uncovered in the fridge if time allows (this dries the skin and improves crispness), and roast it with confidence.
Why Bother?
Honestly, most people won't do this every week — and that's fine. But learning to prepare a whole bird from scratch, even once, changes how you think about cooking. You understand the animal differently. You waste less. You make better use of every part. And you carry forward a piece of practical knowledge that's been part of British kitchen life for centuries.
That seems worth a bit of effort.